HTML 웹페이지 제작하기
이제부터 Express 모듈을 사용하여 직접 웹서버를 개발해보도록 하겠습니다.
1. Repository 생성
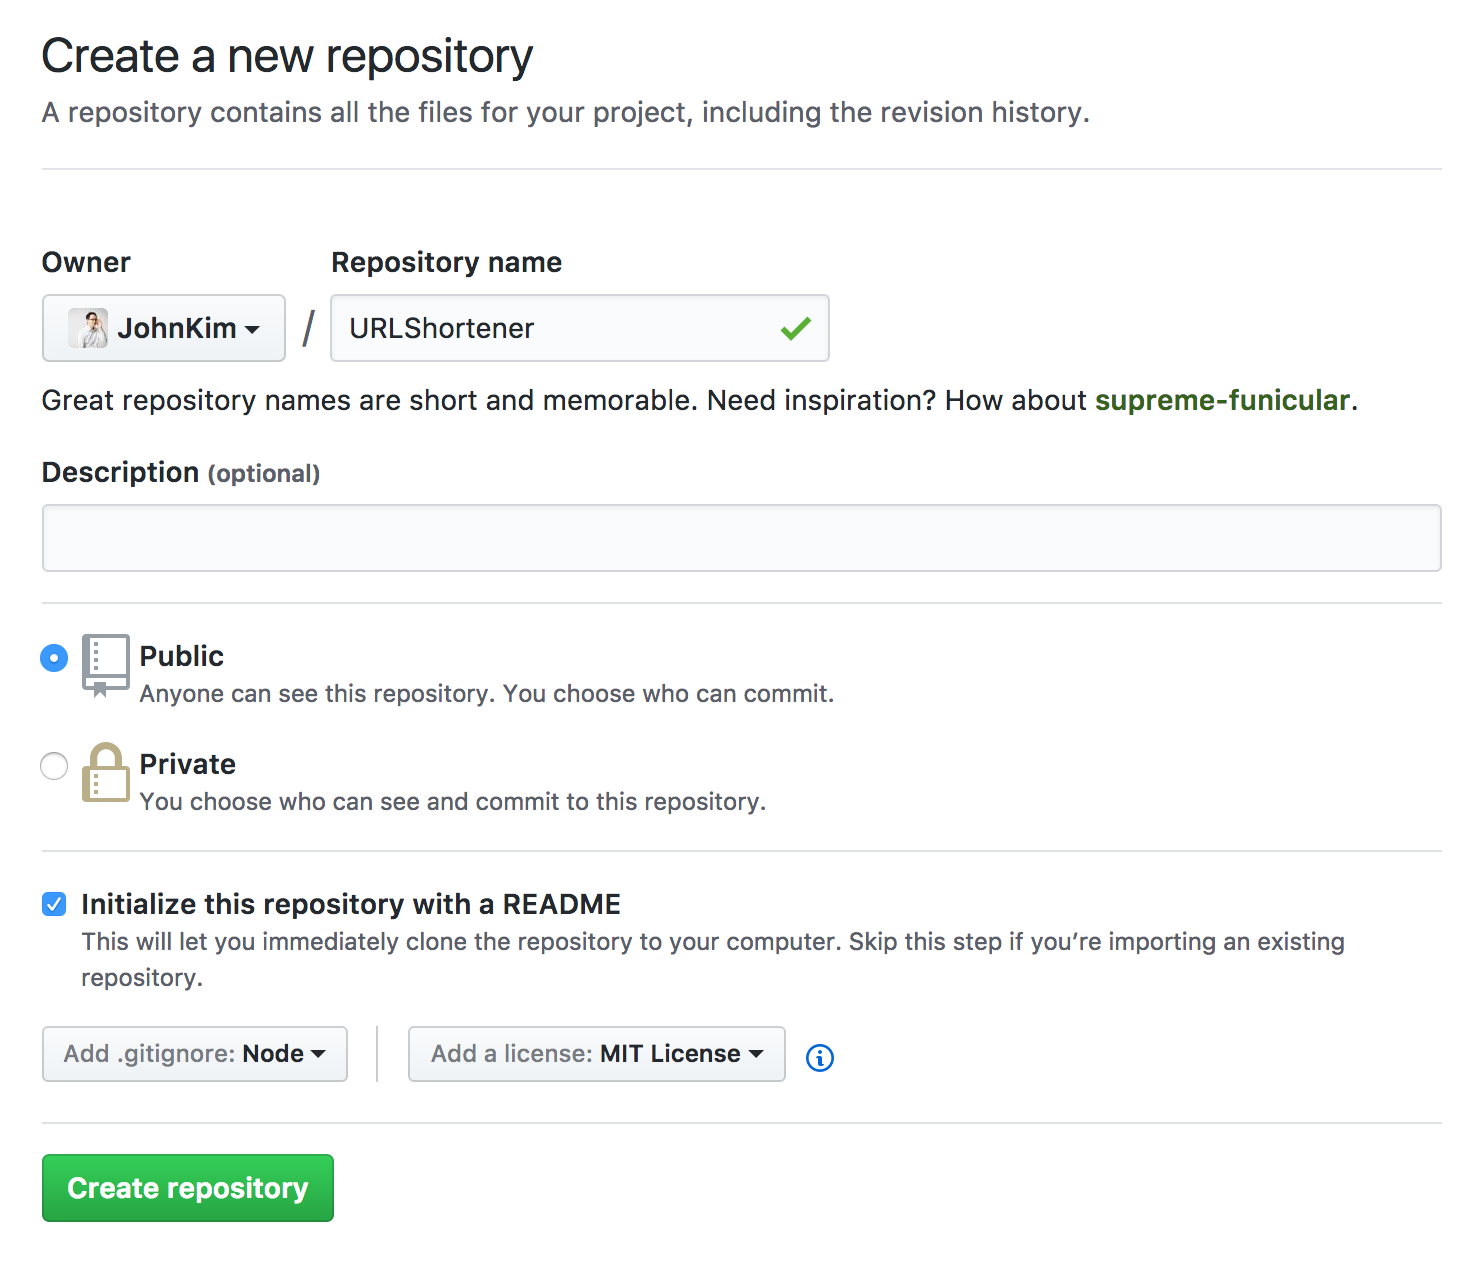
Github 에서 New Repository 를 통해 프로젝트 리파지토기를 생성합니다.
- Repository Name :
URLShortener - Initialize this repository with a README 체크
- Add .gitignore :
Node - Add a license :
MIT
위와 같이 리파지토리를 생성하면, 자동으로 .gitignore, LICENSE, README.md 파일이 생성됩니다.
이제 git clone 으로 로컬 PC 에 복재해 오도록 하겠습니다.
$ git clone https://github.com/[본인계정]/URLShortener.git
$ cd URLShortener
2. Express 웹서버 개발
package.json 파일을 생성하기 위하여 npm init 명령어를 실행하고, Express 모듈을 설치하도록 합니다.
$ npm init
$ npm install --save express
웹서버를 구현 할 server.js 파일을 아래와 같이 작성합니다.
var express = require('express');
var app = express();
app.use(express.static('public'));

app.listen(3000, function () {
  console.log('Example app listening on port 3000!')
});
위의 코드는 Express에서 제공하는 express.static 미들웨어를 사용하여 static 서비스를 위한 폴더명을 지정하는 것입니다.
이제 ./public/index.html파일을 아래와 같이 작성합니다.
<html>
  <head>
    <title>URL Shortener</title>
    <script src="http://code.jquery.com/jquery-2.1.1.min.js"></script>
  </head>
  <body>
    <br><br>

    <form id="createUrl" role="form">
      <input type="url" id="longUrl">
      <button type="submit">Shorten !</button>
    </form>

    <br><br>

    <h2><strong id="shortUrl"></strong></h2>

    <script type="text/javascript">
      var API_SERVER = 'http://localhost:3000';

      $( "#createUrl" ).submit(function( event ) {

        event.preventDefault();

        var longUrl = $('#longUrl').val();

        $.ajax({
          url: API_SERVER + '/url/' + encodeURIComponent(longUrl)
          , crossDomain: true
          , dataType: "json"
          , type: 'GET'
          , data: {}
          , success: success
          , error: function(jqXHR, textStatus, errorThrown){
              alert(errorThrown);
          }
        });

      });

      var success = function(data){
        $('#shortUrl').text(API_SERVER +'/' +data.key);
      };
    </script>
  </body>
 </html>
URL을 입력 받을 수 있도록 HTML 테그를 작성하고, 버튼을 클릭하는 이벤트가 발생하면, JSONP(JSON with padding)로 서버의 API를 호출하도록 구현합니다. 버튼의 이벤트와 같은 일부 로직 부분은 JQuery를 사용하였습니다.
웹브라우저로 http://localhost:3000 에 접속하면, 아래와 같은 화면이 나오게 될 것이다.